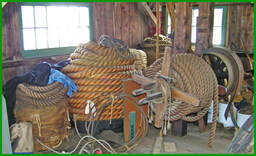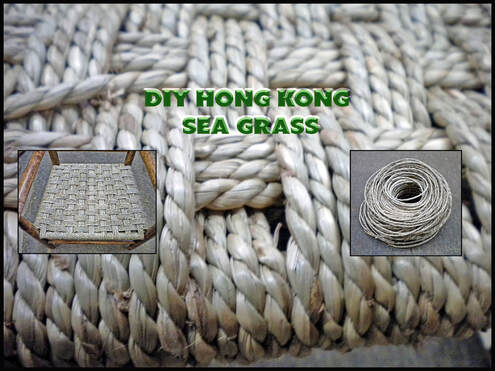
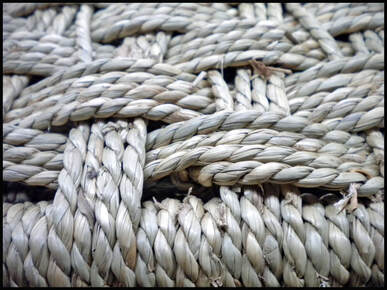
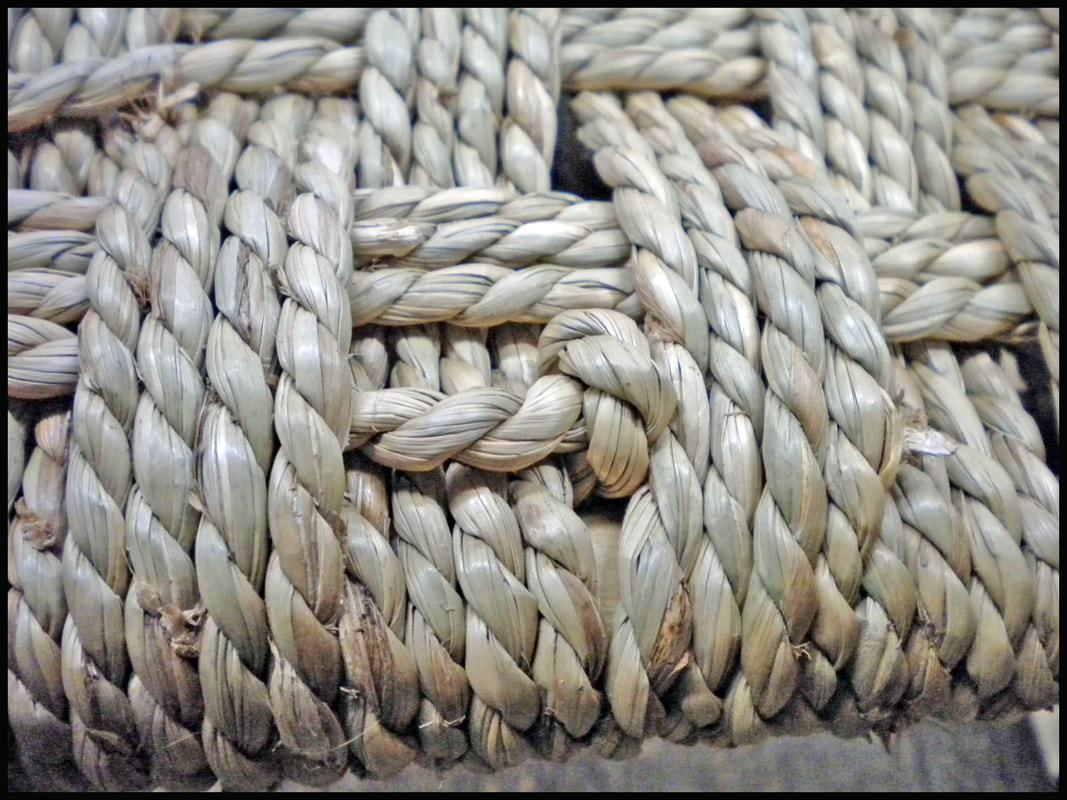
A photo of a 3-pound coil of Sea or Hong Kong Grass is shown in the header)… There are many sizes of sea grass, numbered from #000 thru #10. A 3-lb. coil is good for one chair 14” by 14”. Sea grass is grown in the Far East; it is a straw-green color, and browns with age. The actual size of the grass on the chair in the following DIY example is using a #3 sized 'rope'.
Sizes available and cost vary by retailer. My supplier from CA actually charges less for shipping than my supplier from CT, so it does pay to shop around, even if you are only weaving one chair. Note: Not all coils are the same quality; some may have more 'bad' sections than others. If you are only buying for one chair you will probably be OK, because one 3-pound coil usually has enough rope to weave one and a half chairs. Fewer and fewer suppliers are available for this material due to the dwindling use of it. However, I have shown a chart below to help you make choices of what you need for your chair.
Sizes available and cost vary by retailer. My supplier from CA actually charges less for shipping than my supplier from CT, so it does pay to shop around, even if you are only weaving one chair. Note: Not all coils are the same quality; some may have more 'bad' sections than others. If you are only buying for one chair you will probably be OK, because one 3-pound coil usually has enough rope to weave one and a half chairs. Fewer and fewer suppliers are available for this material due to the dwindling use of it. However, I have shown a chart below to help you make choices of what you need for your chair.
Designated |
Actual Size Standard |
Metric Size |
#000- |
xxx |
1.5 to 2.00mm |
#00- |
xx |
2.0 to 2.25mm |
#0- |
1/8" |
2.25 to 2.75mm |
#1- |
9/64" |
3.00 to 3.50mm |
#2- |
11/64" |
3.50 to 4.00mm |
#3- |
3/16" |
4.50 to 5.00mm |
#4- |
1/4" |
5.50 to 6.00mm |
#4-1/2- |
9/32" |
6.00 to 6.50mm |
#5 |
5/16" |
7.94mm |
#7 |
3/8" |
9.50mm |
#10 |
7/16" |
11.11mm |
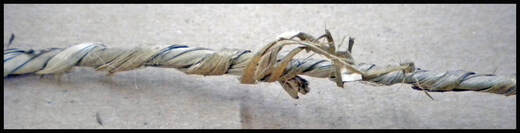
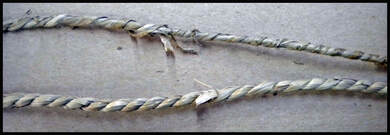
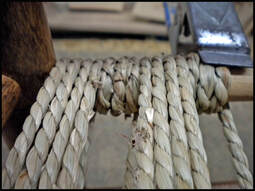
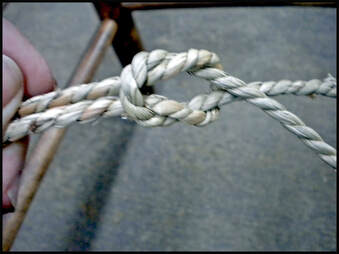
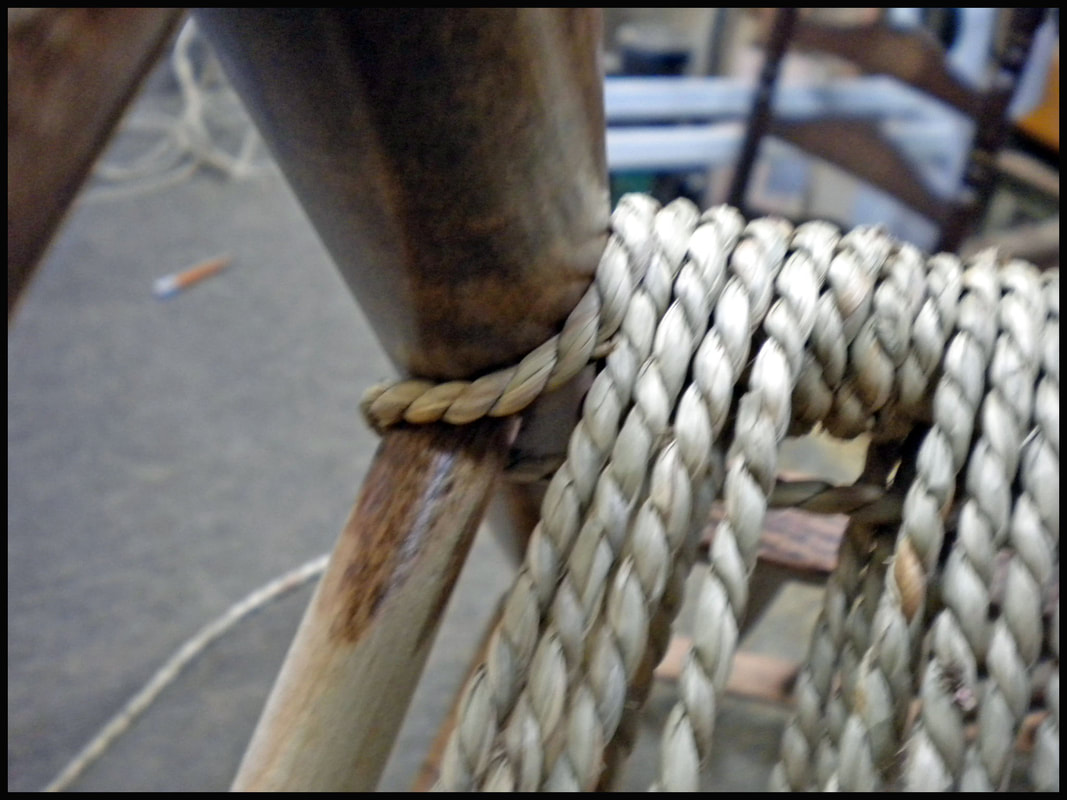
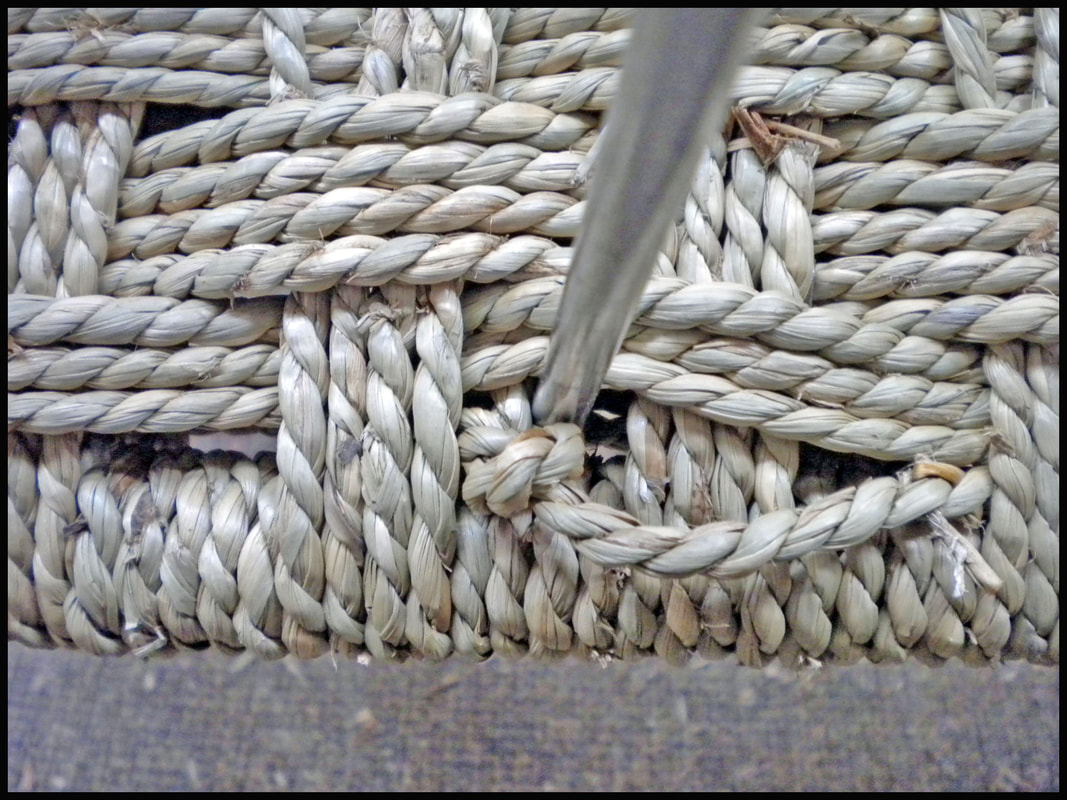
In the photo below left, the upper rope has a bad section of the grass rope, which requires cutting out. The lower rope is a good rope twist to show a comparison. Flawed areas are exceptions and not the norm in this material, but you need to be aware of the possibility of it happening.
|
|
The two photos above show sections in the weave requiring removal. Remember... this is a grass you are working with, and all 'natural' materials used for weaving seats may have some flaws. I buy in large quantities. Occasionally, I might get one out of 20 rolls having some bad sections in it. Examples shown above.
Old grass removal
|
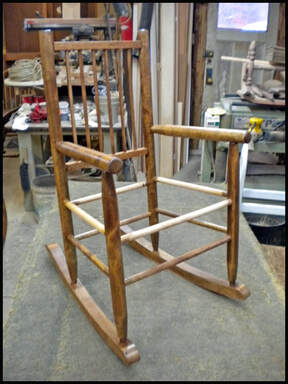
This rocking chair shown right has been cleaned of the old grass seat. The size of the chair measure left to right is roughly 10-1/2 inches between the rear legs and 13-1/2 inches between the front legs. Depth of the seat (front to back) is 10-1/2 inches and the height of the seat is about 12 inches. Consider taking a piece of medium sand paper and lightly sand the dowels the grass is to be woven on. This is just to make sure there are no splinters or other imperfections on the dowels and will make the weave a bit easier. Try to use a removal method that will not cut into the dowels.
Cut the first 'rope' and tie offAfter the frame is clean and sanded where the weave will be, cut about 50 feet off the 3 lb. coil. A little more or less is OK, but if it is too long it can kink and get in your way as you weave. Start the weave by tying off the end to a lower dowel in the front of the chair. Which side you start from is largely dependent on whether you are right or left handed. Later in the instructions you will see how this end is woven into the seat at the end of the weaving process.
Start the weave
|
Measure the width of the first four rope set
|
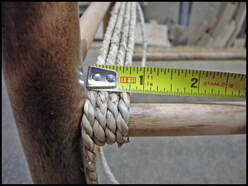
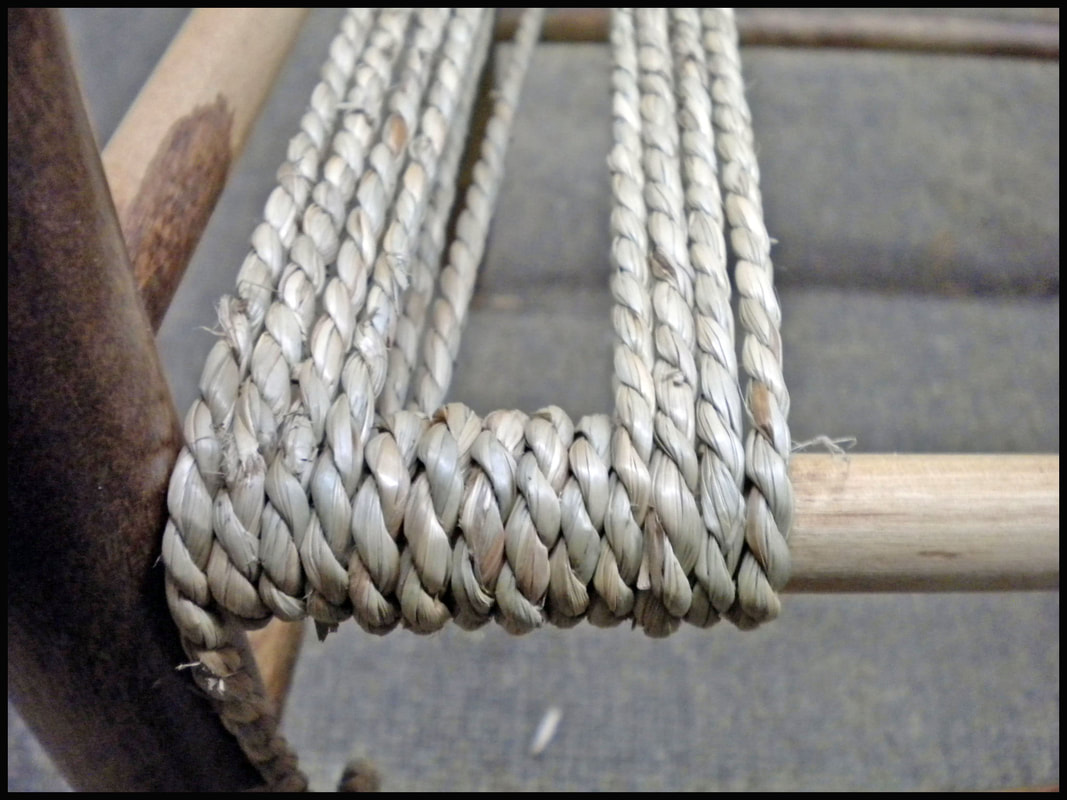
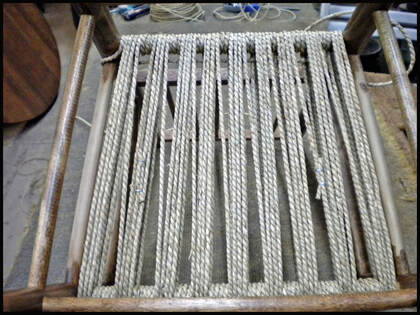
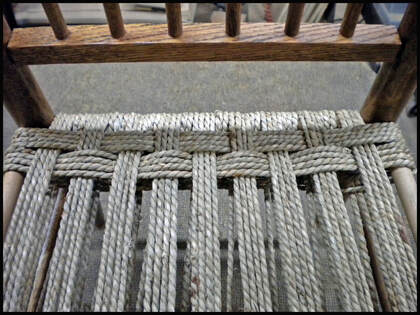
Measuring the four row set will help you determine the number of width of coils around the back row. The left photo shows a view of starting at the back of the chair; with 1 row (four strands in each row). It measures 3/4 of an inch wide. Each strand or rope will average approx. 3/16 of an inch in diameter. Nine (9) row-sets will therefore add up to using 6-3/4 inches of space on the front and back rails. Remember this a very flexible number based on the variability of the diameter of the rope. The total width across the back of this chair is 10-1/2 inches. 10-1/2 inches minus 6-3/4 inches leaves 3-3/4 inches to be divided off for the 8 sets of coils. I decided to divide the coils as follows... 4 sets of three coils between the first and second rope-sets on both the left and right sides of the chair. That used 2-1/4 inches of space. The remaining 4 sets consisted of two coils each, which used 1-1/2 inches of space. The ropes and coils add up this way... 6-3/4 + 2-1/4 + 1-1/2 inches, all adding up to 10-1/2 inches. A little squeezing here and there and it all fits.
|
|
Establishing the number of coils on the front row
|
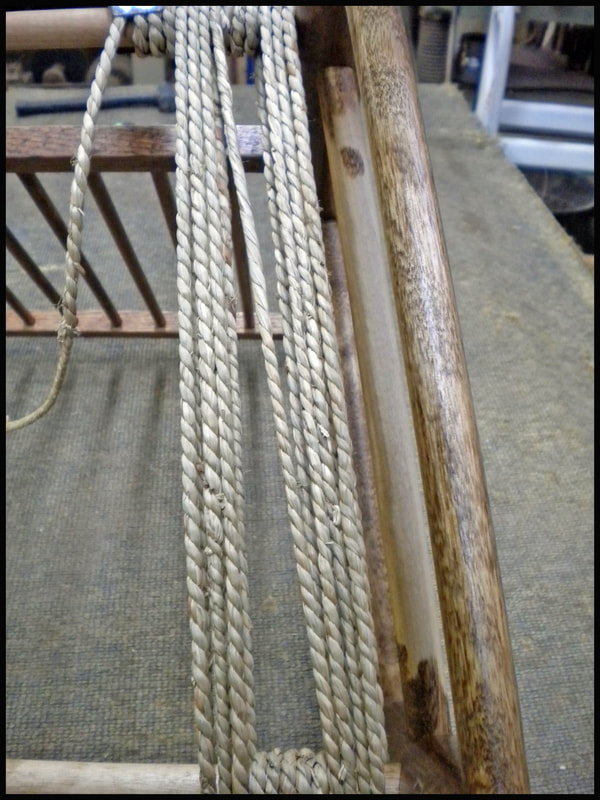
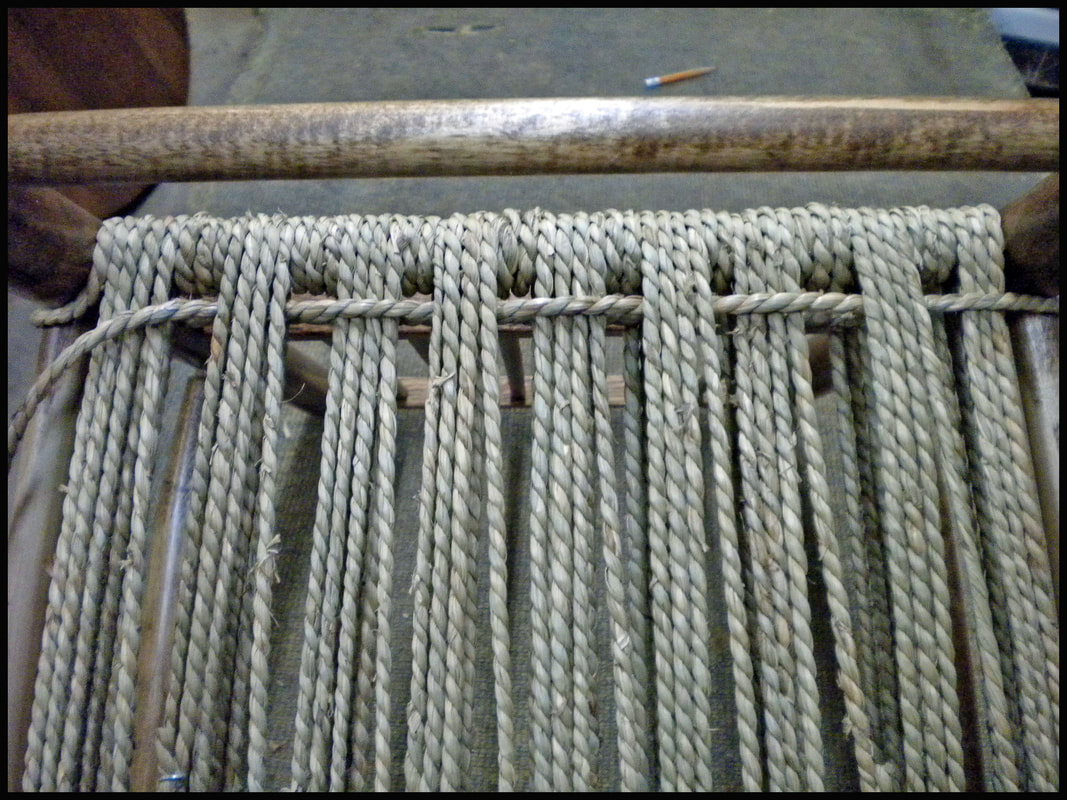
This photo left shows the start of the front of the chair. The total width across the front is 13-1/2 inches. 13-1/2 inches minus 6-3/4 inches for the rows leaves a remainder of 6-3/4 inches to be divided off for the 8 sets of coils. I divided the coils as follows... 4 sets of 5 coils between the first and second rope-sets on both the left and right sides of the chair. That used up 3-3/4 inches of space. The remaining 4 sets consisted of 4 coils each using 3 inches of space. The ropes and coils add up this way... 6-3/4 + 3-3/4 + 3 inches, all adding up to 13-1/2 inches. When you look closely at the finished product you will see it all accumulates to make a nice tight seat.
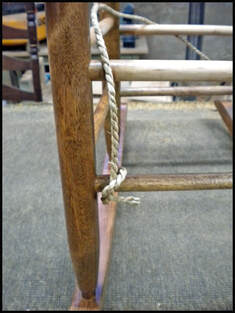
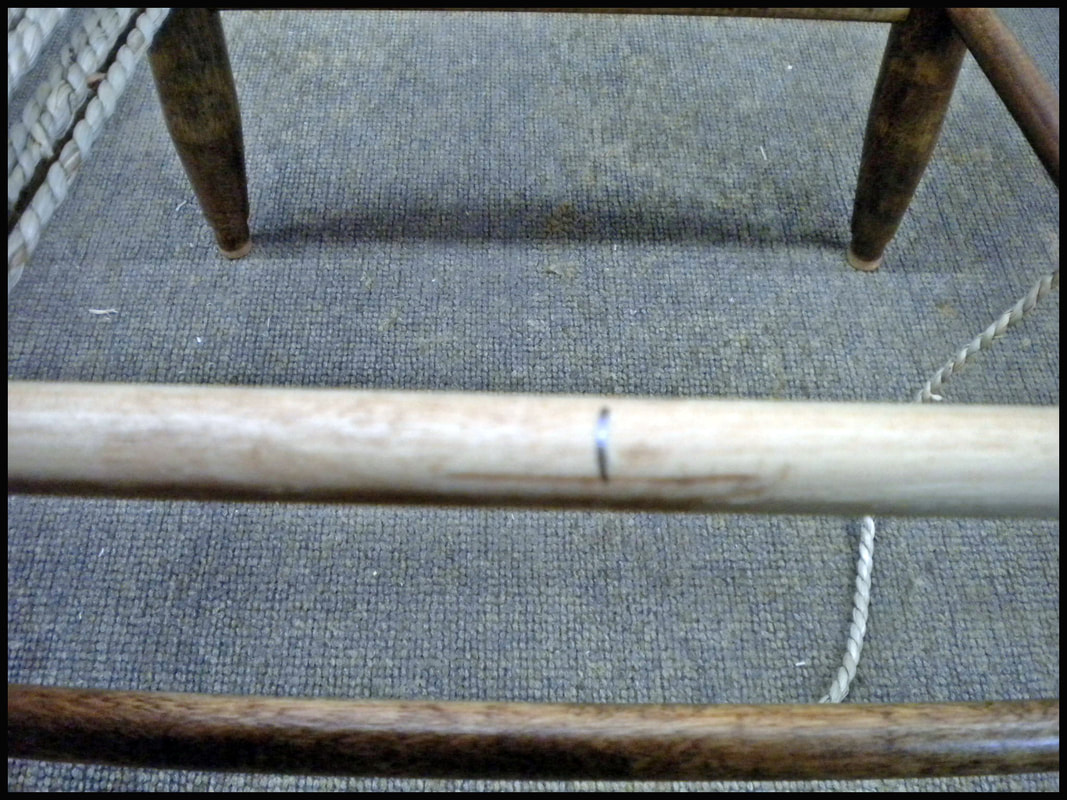
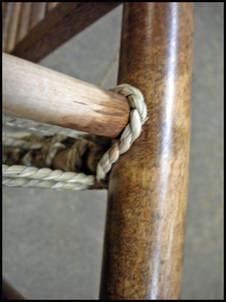
Diagonal row viewThe photo (left) was taken from underneath the chair seat to show the fourth rope strand wrapped on a diagonal, in order to start the next set of coils and forming the next row set.
|
Identifying the center of the front and back rails of the seat
|
Creating a center mark is important for making all the ropes and strands look evenly arranged when the seat is finished.
|
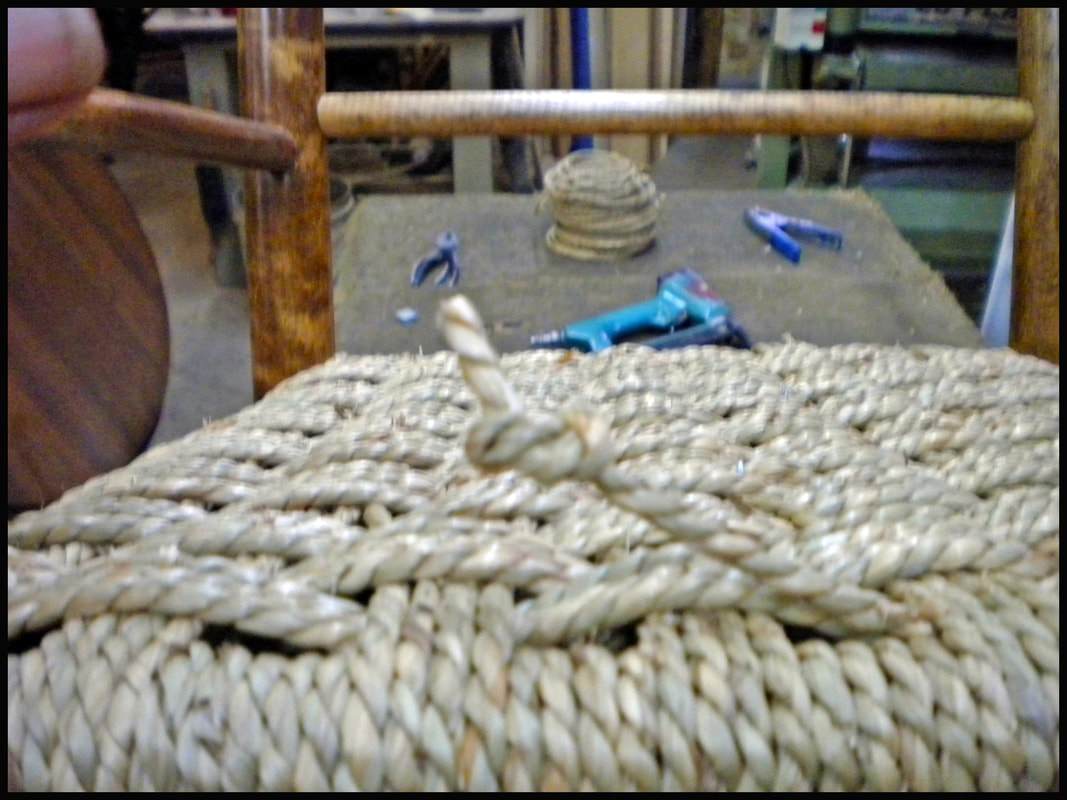
Tying the ends of the two ropes together for continuation of the weave... alternatives
After weaving the first length of rope to the chair it is time for another length of sea grass. Simply tie them together, making sure the knot will be on the bottom. Any type of knot is okay but it should be as small as possible. If you decide to use a knot to tie the ends together Do not cut off the excess end yet because you may have to move the knot back so that it is hidden in the weave on the bottom side of the seat.
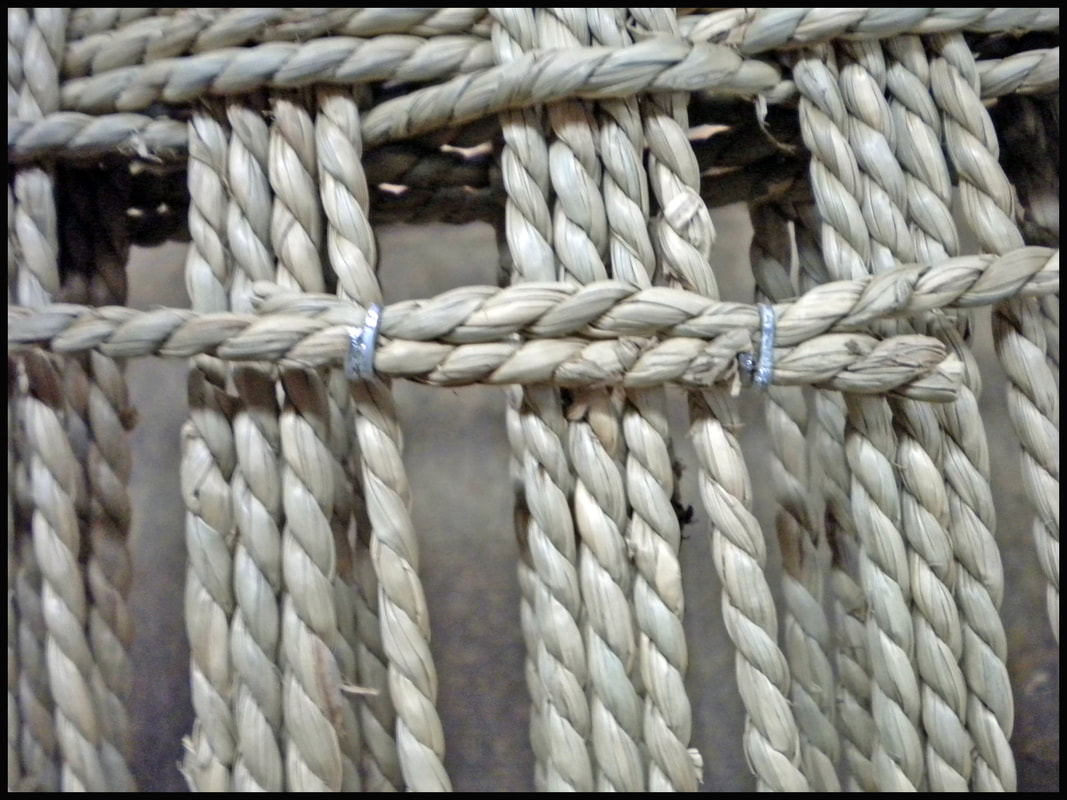
If you decide not to use a knot you can crimp a couple of heavy wire staples to hold the two ends tightly together. Slip the staples over the two ends and crimp them with a pair of standard pliers or hog-ring pliers. Use whatever tool will work best for you.
If you decide not to use a knot you can crimp a couple of heavy wire staples to hold the two ends tightly together. Slip the staples over the two ends and crimp them with a pair of standard pliers or hog-ring pliers. Use whatever tool will work best for you.

|

Slip the staples over the two ends of the strands and crimp them together with a pair of standard pliers or hog-ring pliers.
Use whatever tool will work best for you. 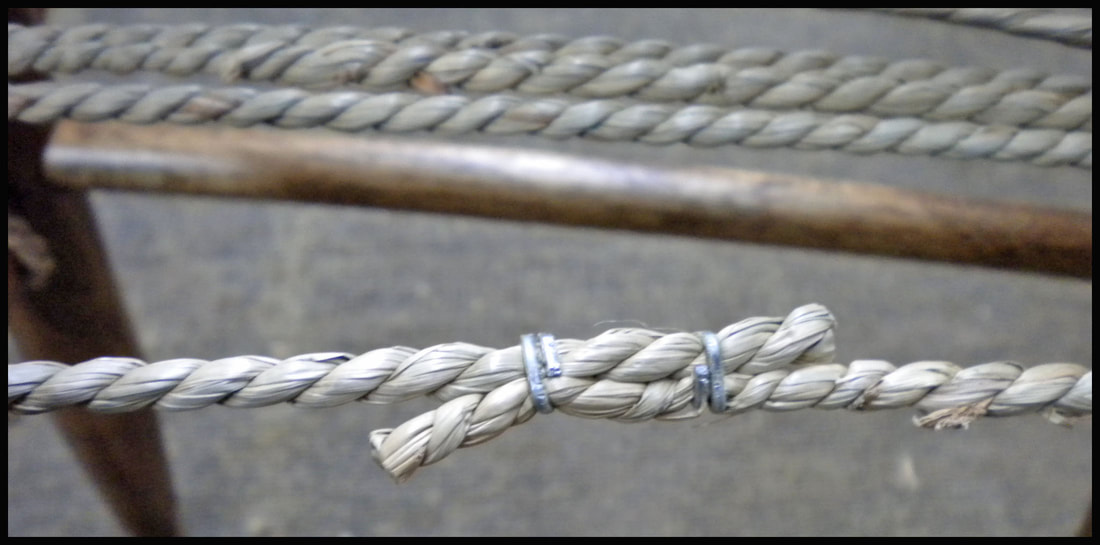
Make sure the staples are tightly squeezed together.
|
Continue with weaving
As your weave gets to being halfway across the chair seat. Continue with completing the center row (2 more strands) as you start the second half. It will be complete with 9 rope sets containing four equal rope strands. Coming from the left are two sets of five spacer coils followed by two sets of four spacer coils. Note: the middle of the fifth rope set should come out exactly on your pencil mark.
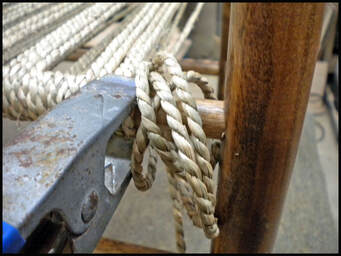
The photos below show a continuance of the rope wrapping around the chair leg and around the spreader (side) dowel and on up to the top of the seat. Then start threading the first strand of the 4-strand cross rows.
Far right photo. |
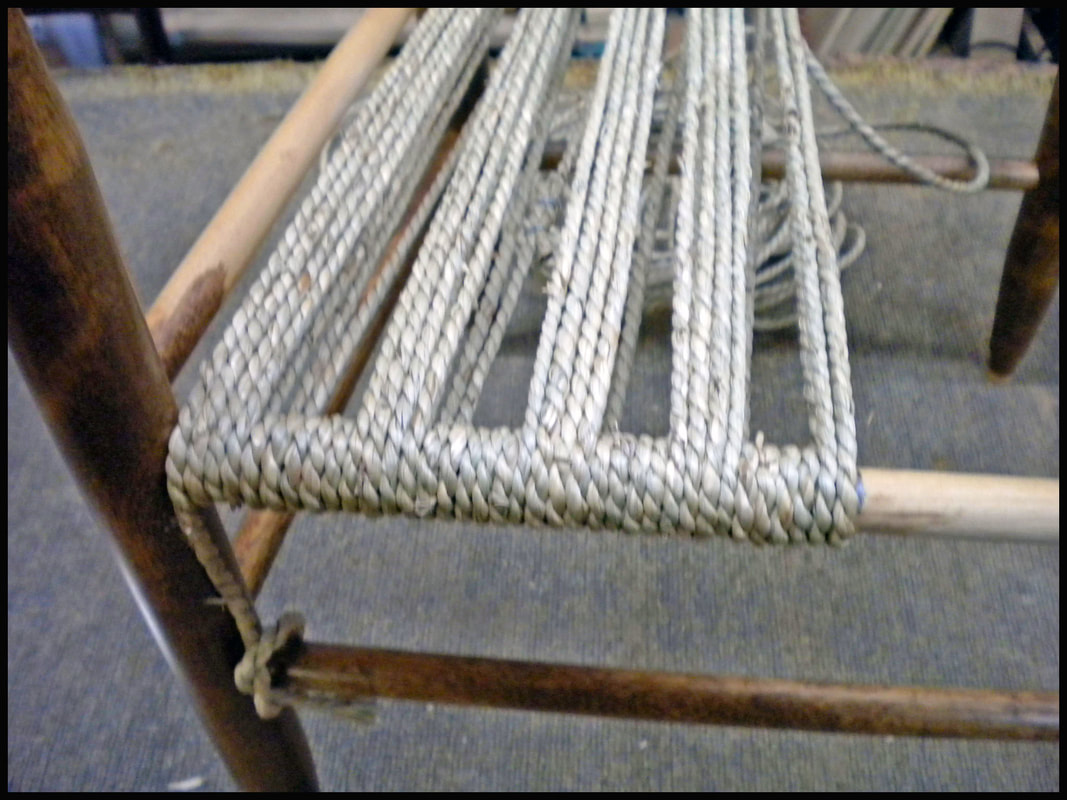
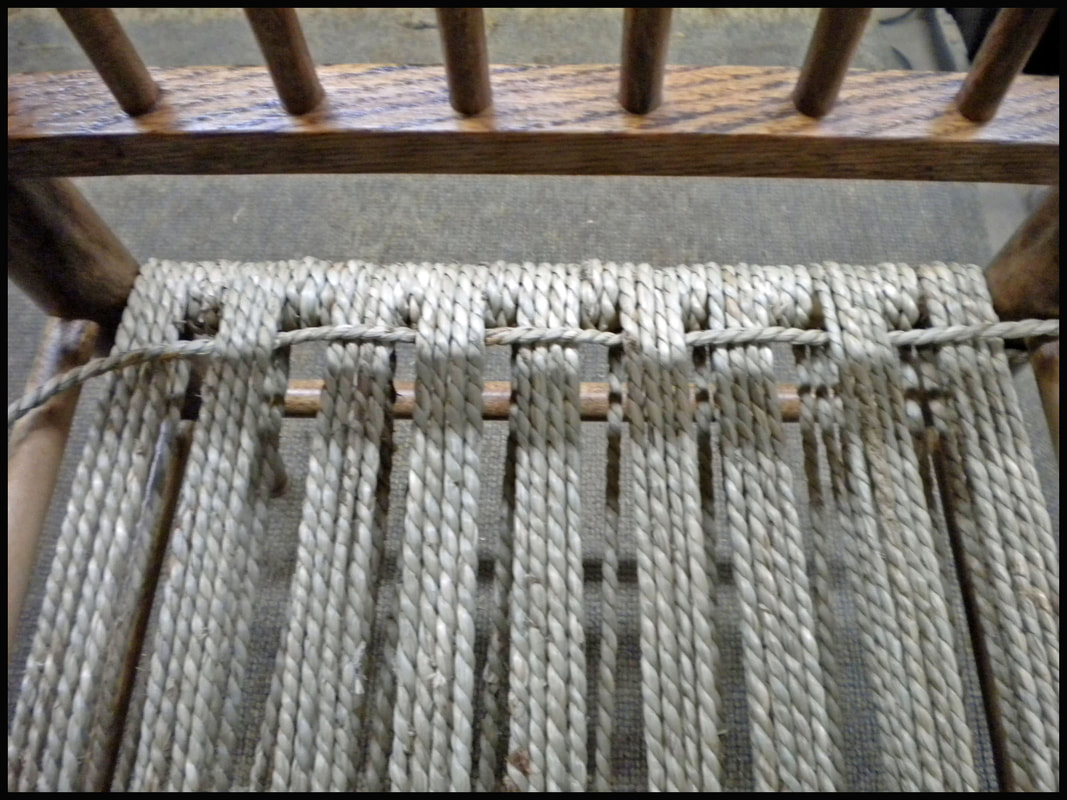
Loose-wrap each set of coilsThe photo below shows five coils loosely wrapped around the front rail. This makes it a bit easier for tightening the coils. Doing it one at a time is cumbersome. End the top layer by wrapping the rope around the back rail and back leg.
|
As you start the cross rows use your fingers to pull each strand snug up against the back rail or spreader. |

|
|
First strand is ready to be woven into the bottom rows viewed from underneath
Two complete cross rows or sets. The seat is now starting to form up.
Using a loop in the weaving process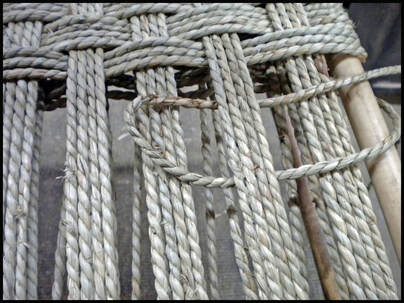
Sometimes you can use the rope in a loop-back configuration. Once the loop is pulled through you pull the remainder of the free end of rope all the way through in order to wrap it around the dowel and back through the up and over weave. Use the loop configuration over and over to thread the rope through the weave of the existing rope-sets this keeps the material from snarling or twisting up on itself. And it speeds up the weaving process.
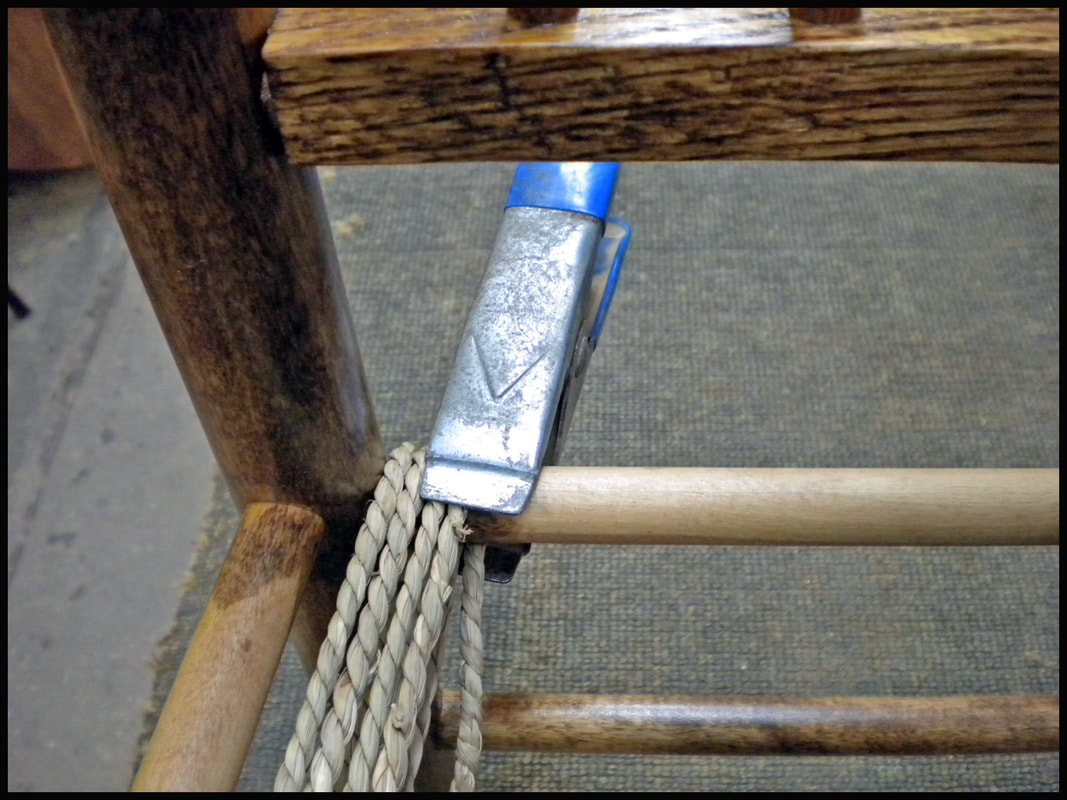
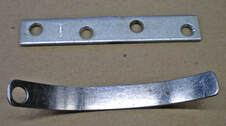
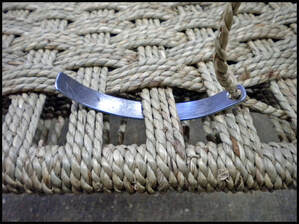
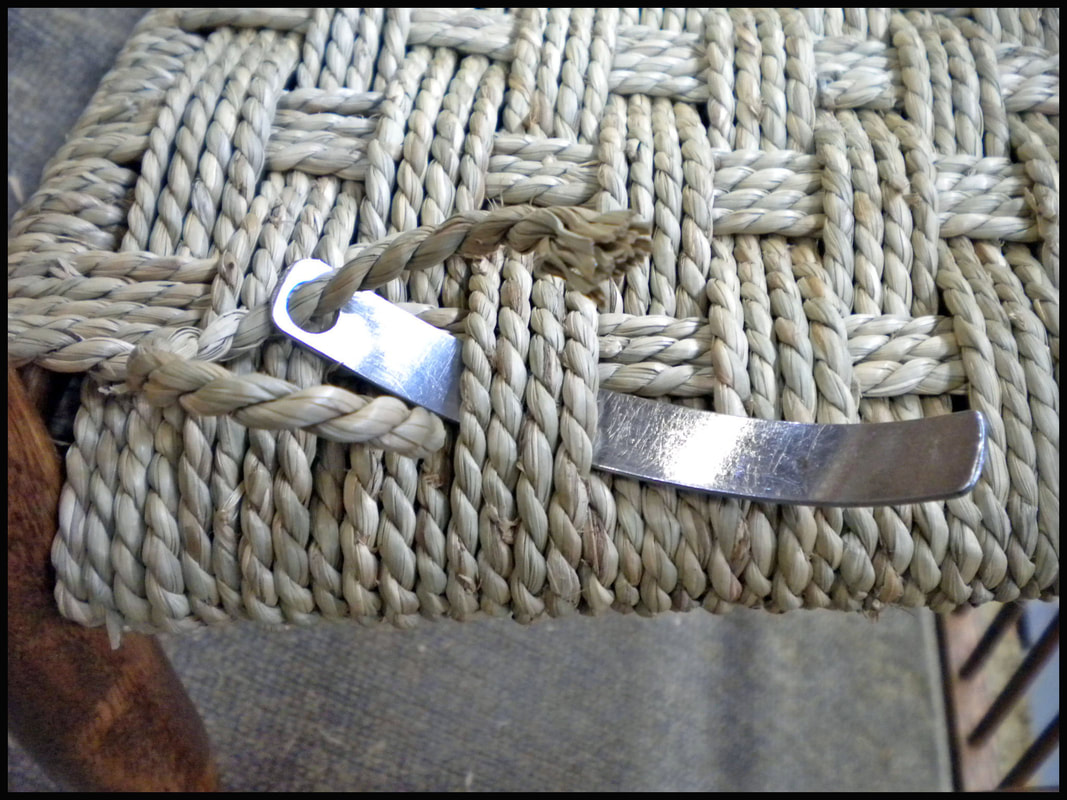
Weaving Tools
I made the tool below from scrap metal I had lying around. I cut it to the desired shape I wanted, drilled a hole in it and sanded it smooth. It works great. You may be able to make up something similar or better. The 4-holed metal piece can be found in most hardware or home building stores in the brackets section. You bend the curve to suit yourself.
|
Linking the next strand or ropeAttach the next length of rope; always making sure the splice is good and tight.
An underneath view of how the finished joint should look.
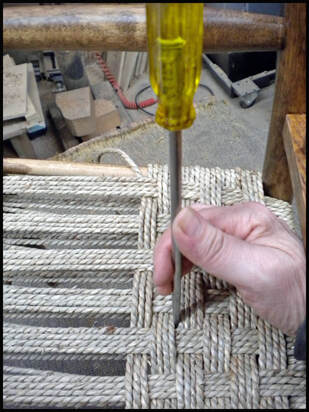
Pulling the rows togetherI use a flat-blade screwdriver to help pull the rows tighter together (top and bottom). The basic weave doesn't actually keep the rows as tight together as I would like. I spend extra time to give the seat a nice closed look. You can and will still use your fingers, but remember you are pulling the rope fairly tight as you weave it across. Even though one does not see the bottom of the finished chair that doesn't mean you can allow the weave to be loose.
|

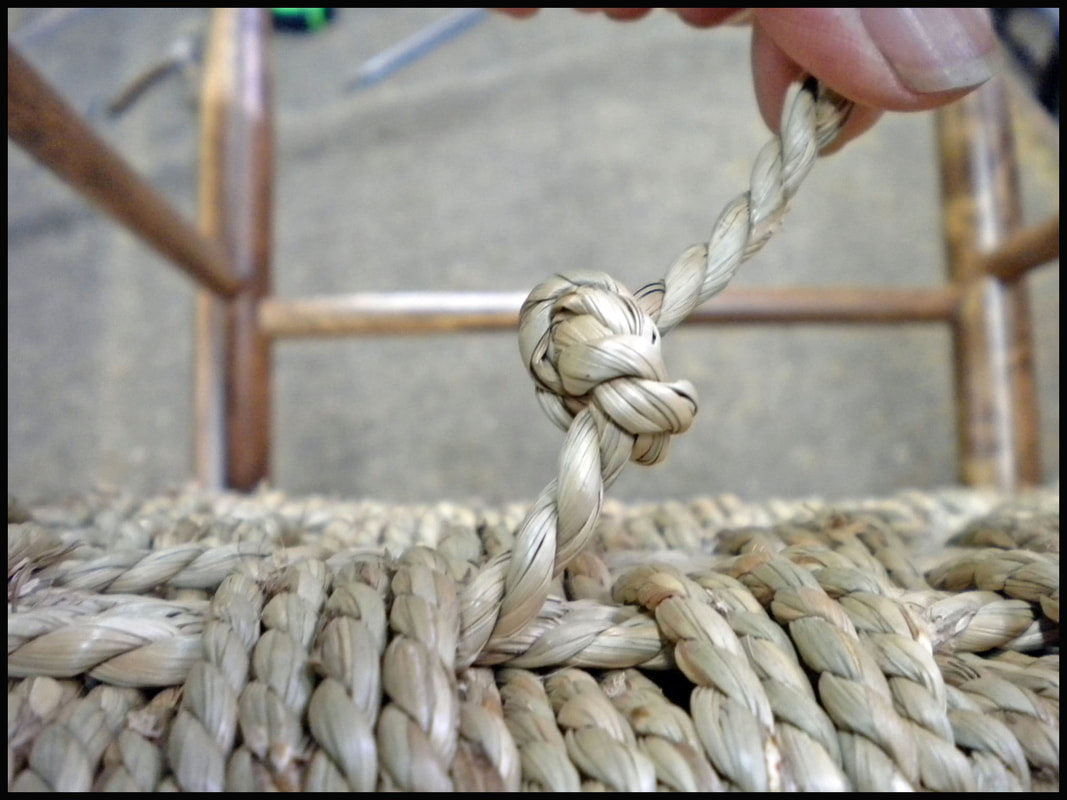
Once you are done weaving the seat cut the end of the rope to about the length show above and tie a knot in it. It keeps the rope from unraveling as you tuck it into the seat, hiding it from view. See directly above.
Going back to the starting end of the rope
The photos below shows the chair upside down and the starting end of the very first rope. Untie it from the lower dowel you tied it to hold it in place as you started your weaving. Use your threading tool to bring the rope/strand through the weave from the front towards the back of the chair. Then tie the end into a knot and tuck it in.
|
|
|
|
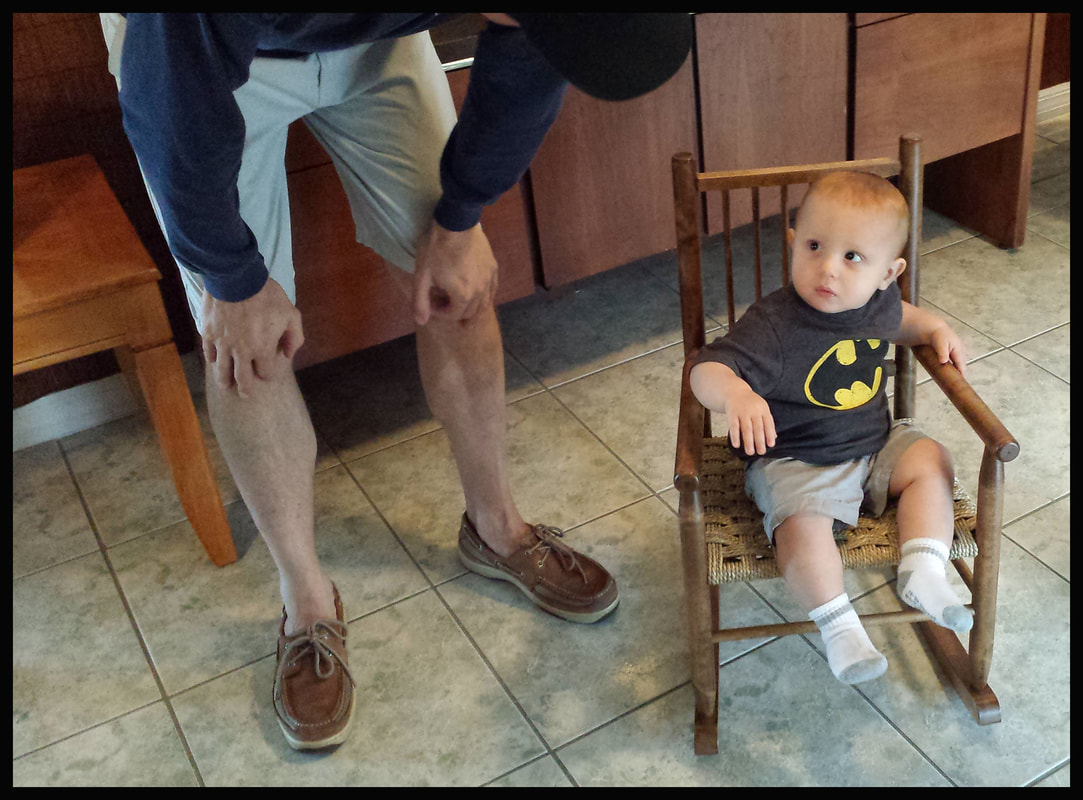
Some guys really like sitting on a rocker with a Sea Grass seat!
|
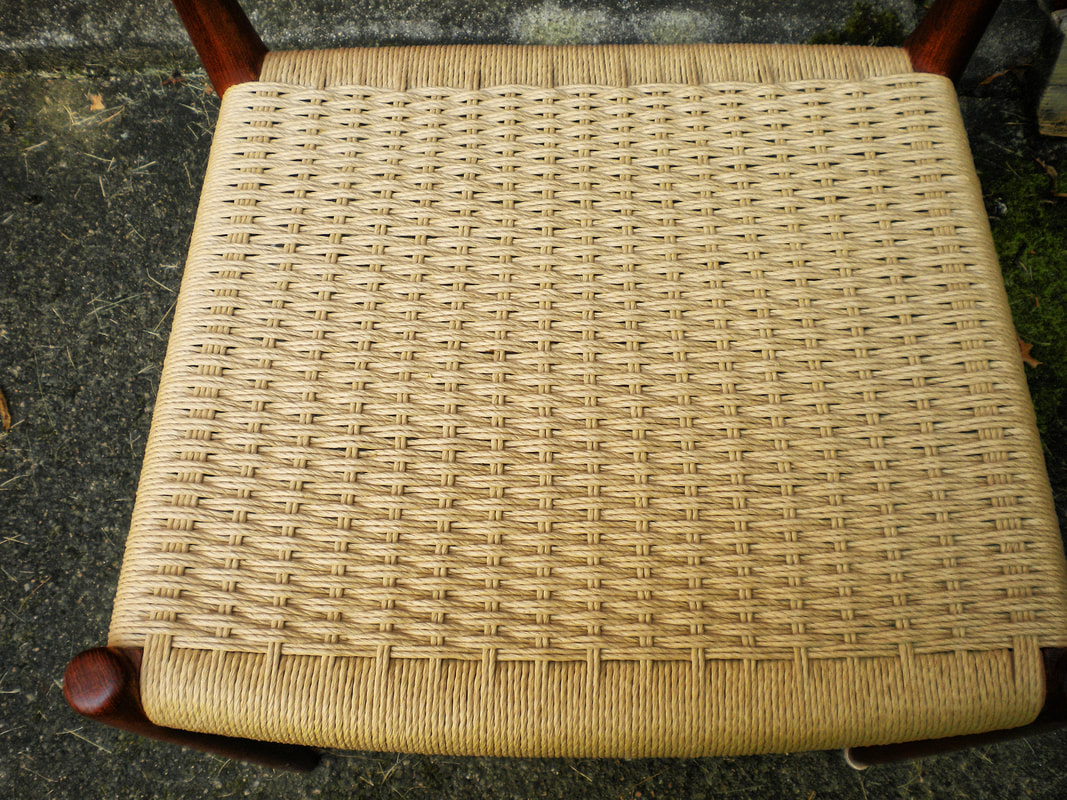
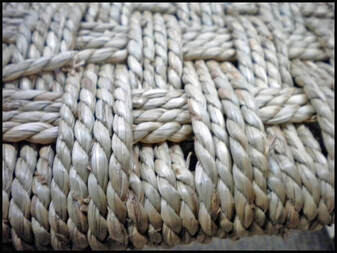
Finished chair |
Photo of the completed chair seat. It looks good and is nice and tight. No finish is applied to this material. It will take on a natural sheen and last a long time unless it is abused. I recommend you never use this chair as a step-stool, even if it is for 'just a second', for your own safety and maintaining the strength and integrity of the chair. If there is any step that is unclear, please write to me and I will have the web designer correct it for us.